How To Make a Toasterdilla: Pocket Fold Method
So you want to make a quesadilla but you don't want the hassle of the pulling out the quesadilla maker or the pans and spatulas to make one?
Let me introduce you to...
*Enters stage left*
THE TOASTERDILLA!
It's quick, it's easy, it's less mess, and most of all...it's delicious.
With the Revolution Toaster and Panini Press toaster accessory, you can now make a perfectly melted quesadilla in your toaster, hence...Toasterdilla.
We have two tried and true ways you can fold a quesadilla to perfectly fit into the panini press. Today, we're talking about the POCKET FOLD. See the Triangle Fold as the other options.
Step 1: In two quadrants across from one another, place a handful of cheese on the tortilla. Don't forget to leave a little gap in the center, this will help fold it together later.

Step 2: Add the remaining ingredients to the top of your cheese. Pro Tip: Four ingredients or less is optimal for heat-through.

Step 3: Fold one side into the center of the tortilla.

Step 4: Fold the other side into the center.

Step 5: Bring the bottom half up to meet the top and fold the tortilla in the center.

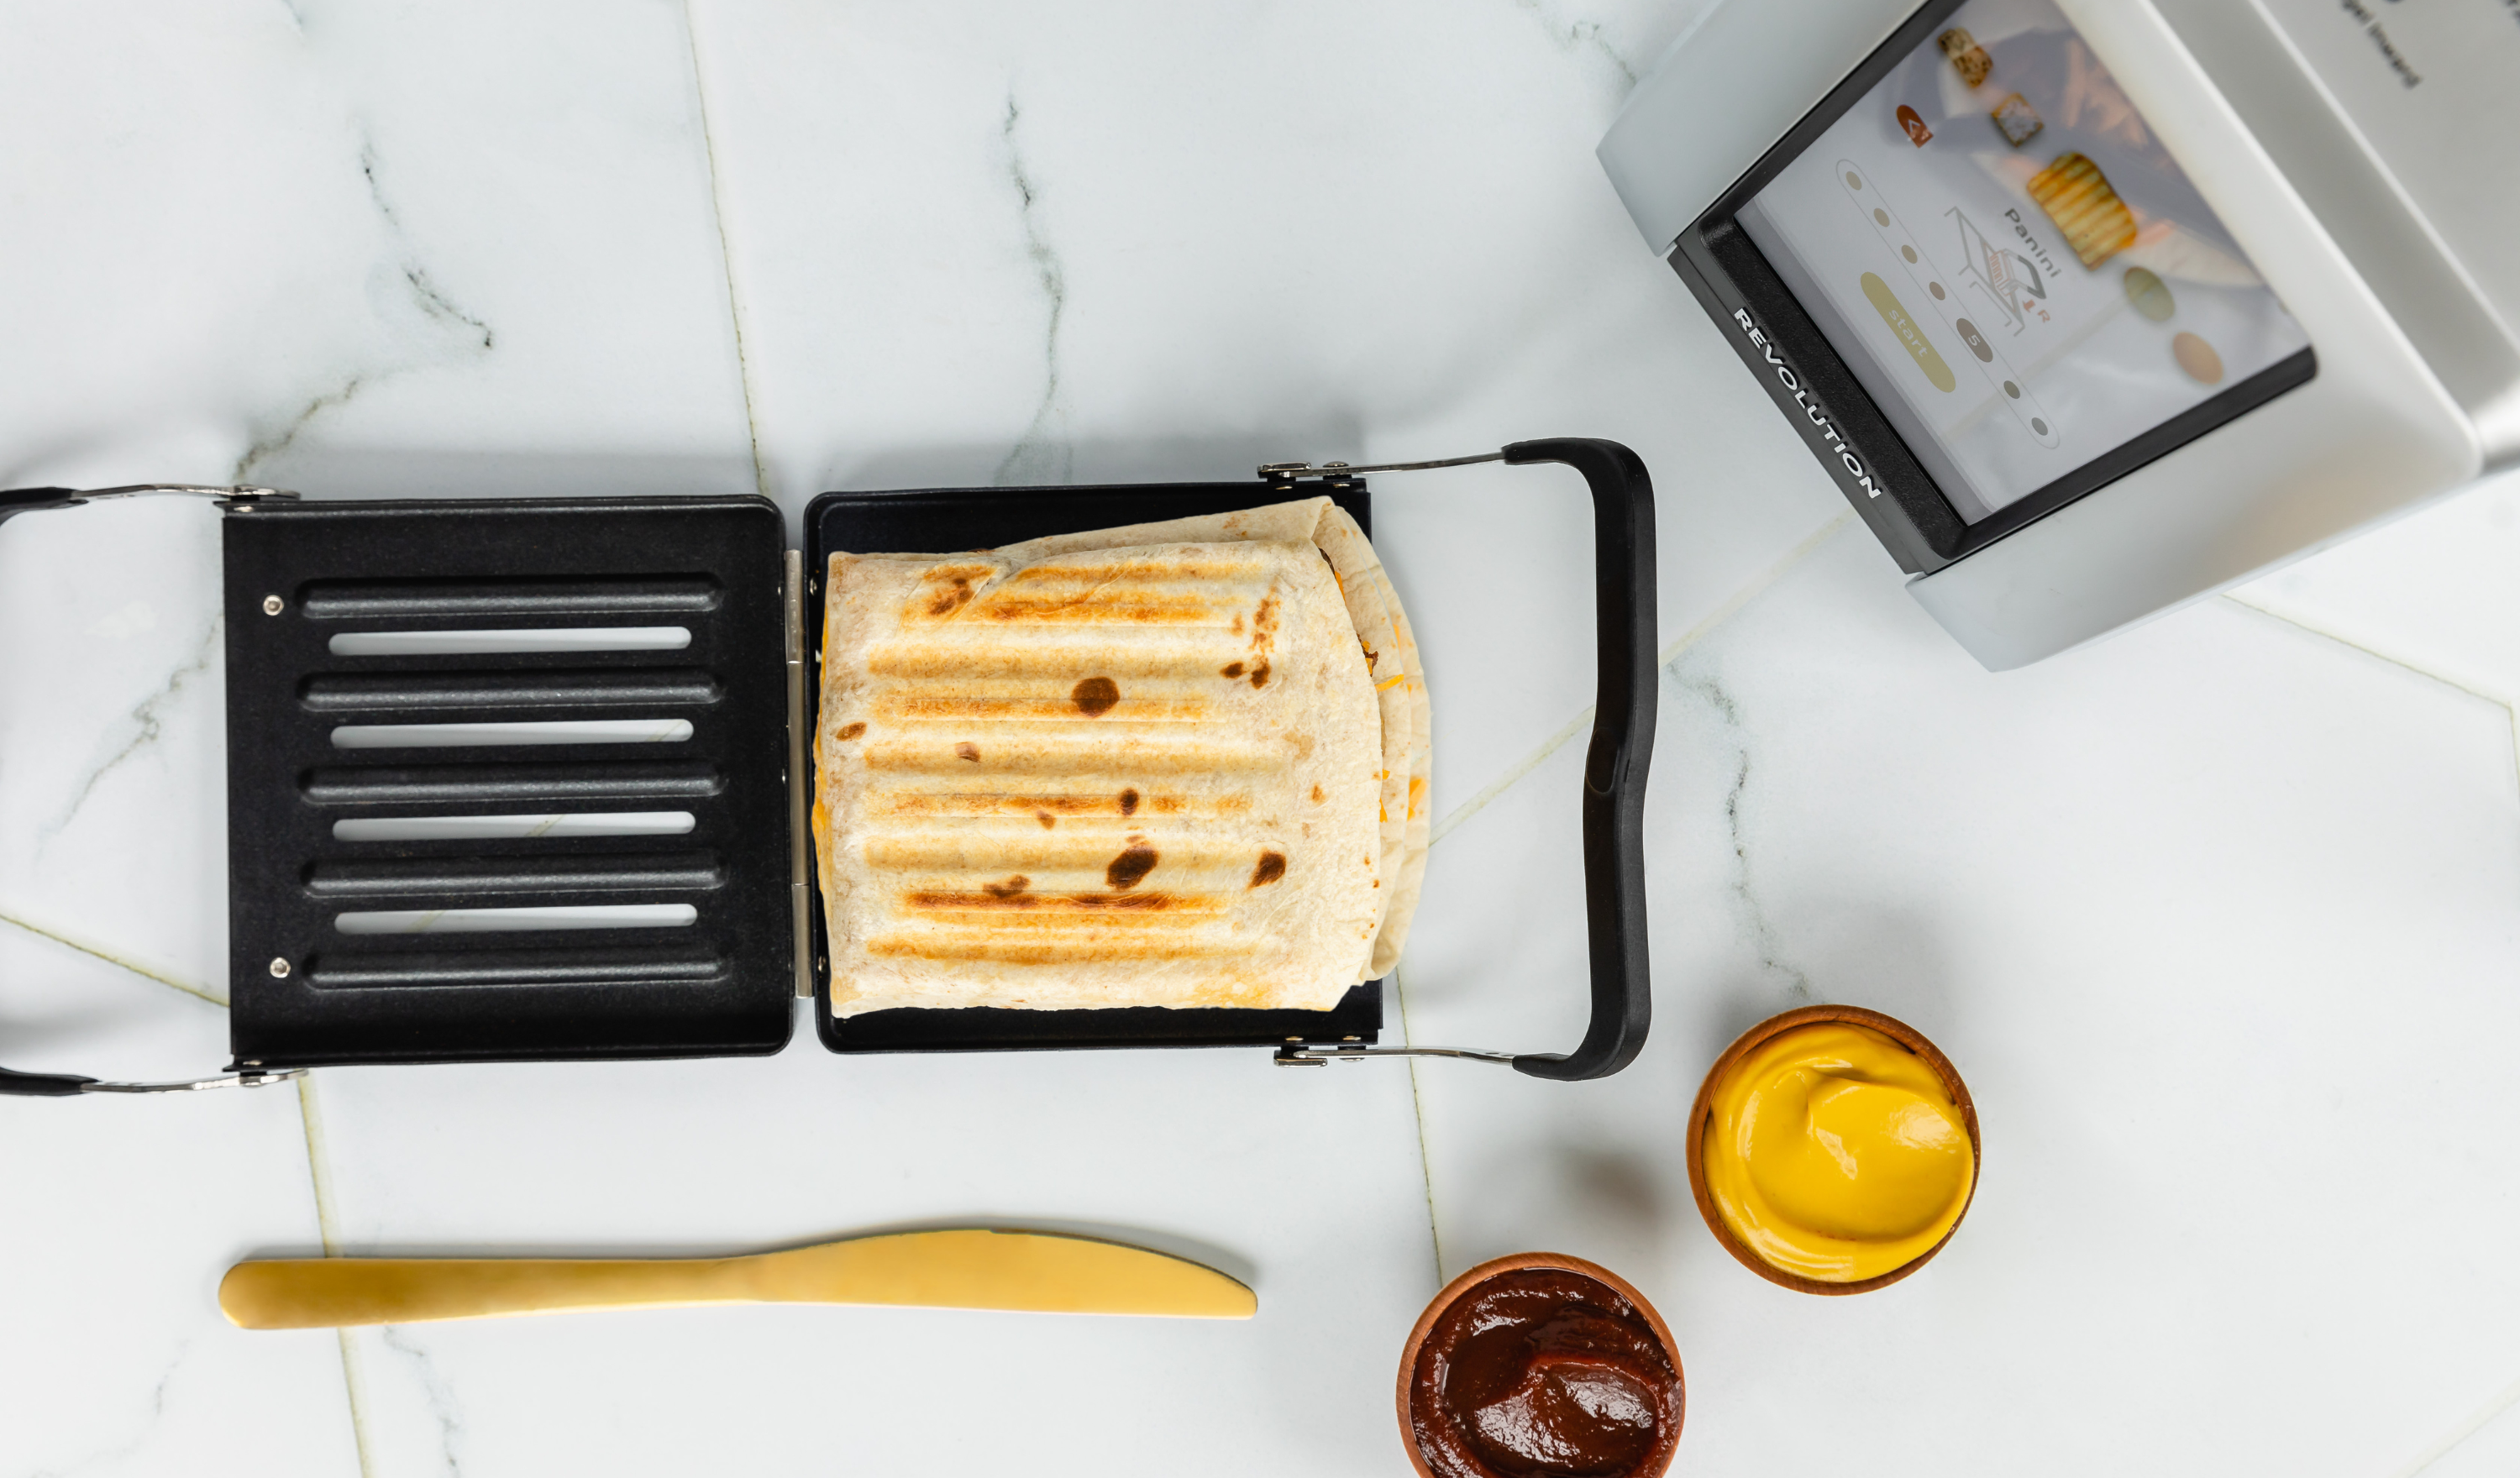
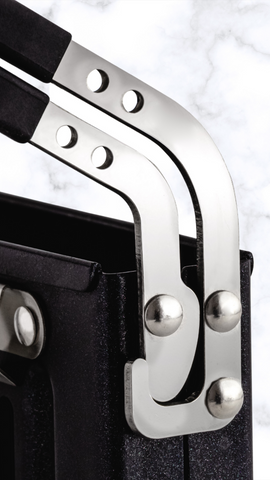
Step 6: Close the Panini Press and make sure the handles are locked into place.
Step 7: Place the filled Panini Press into the right slot of your Revolution Toaster with the handles facing out.

Step 8: Find the Panini Press mode depending on the toaster model you have (see below).
For more details on modes and selections, please refer to page 6 of your Revolution Panini Press User Manual.
Important: Do not push the Panini Press down, the automatic platform will lower the Panini Press into place.

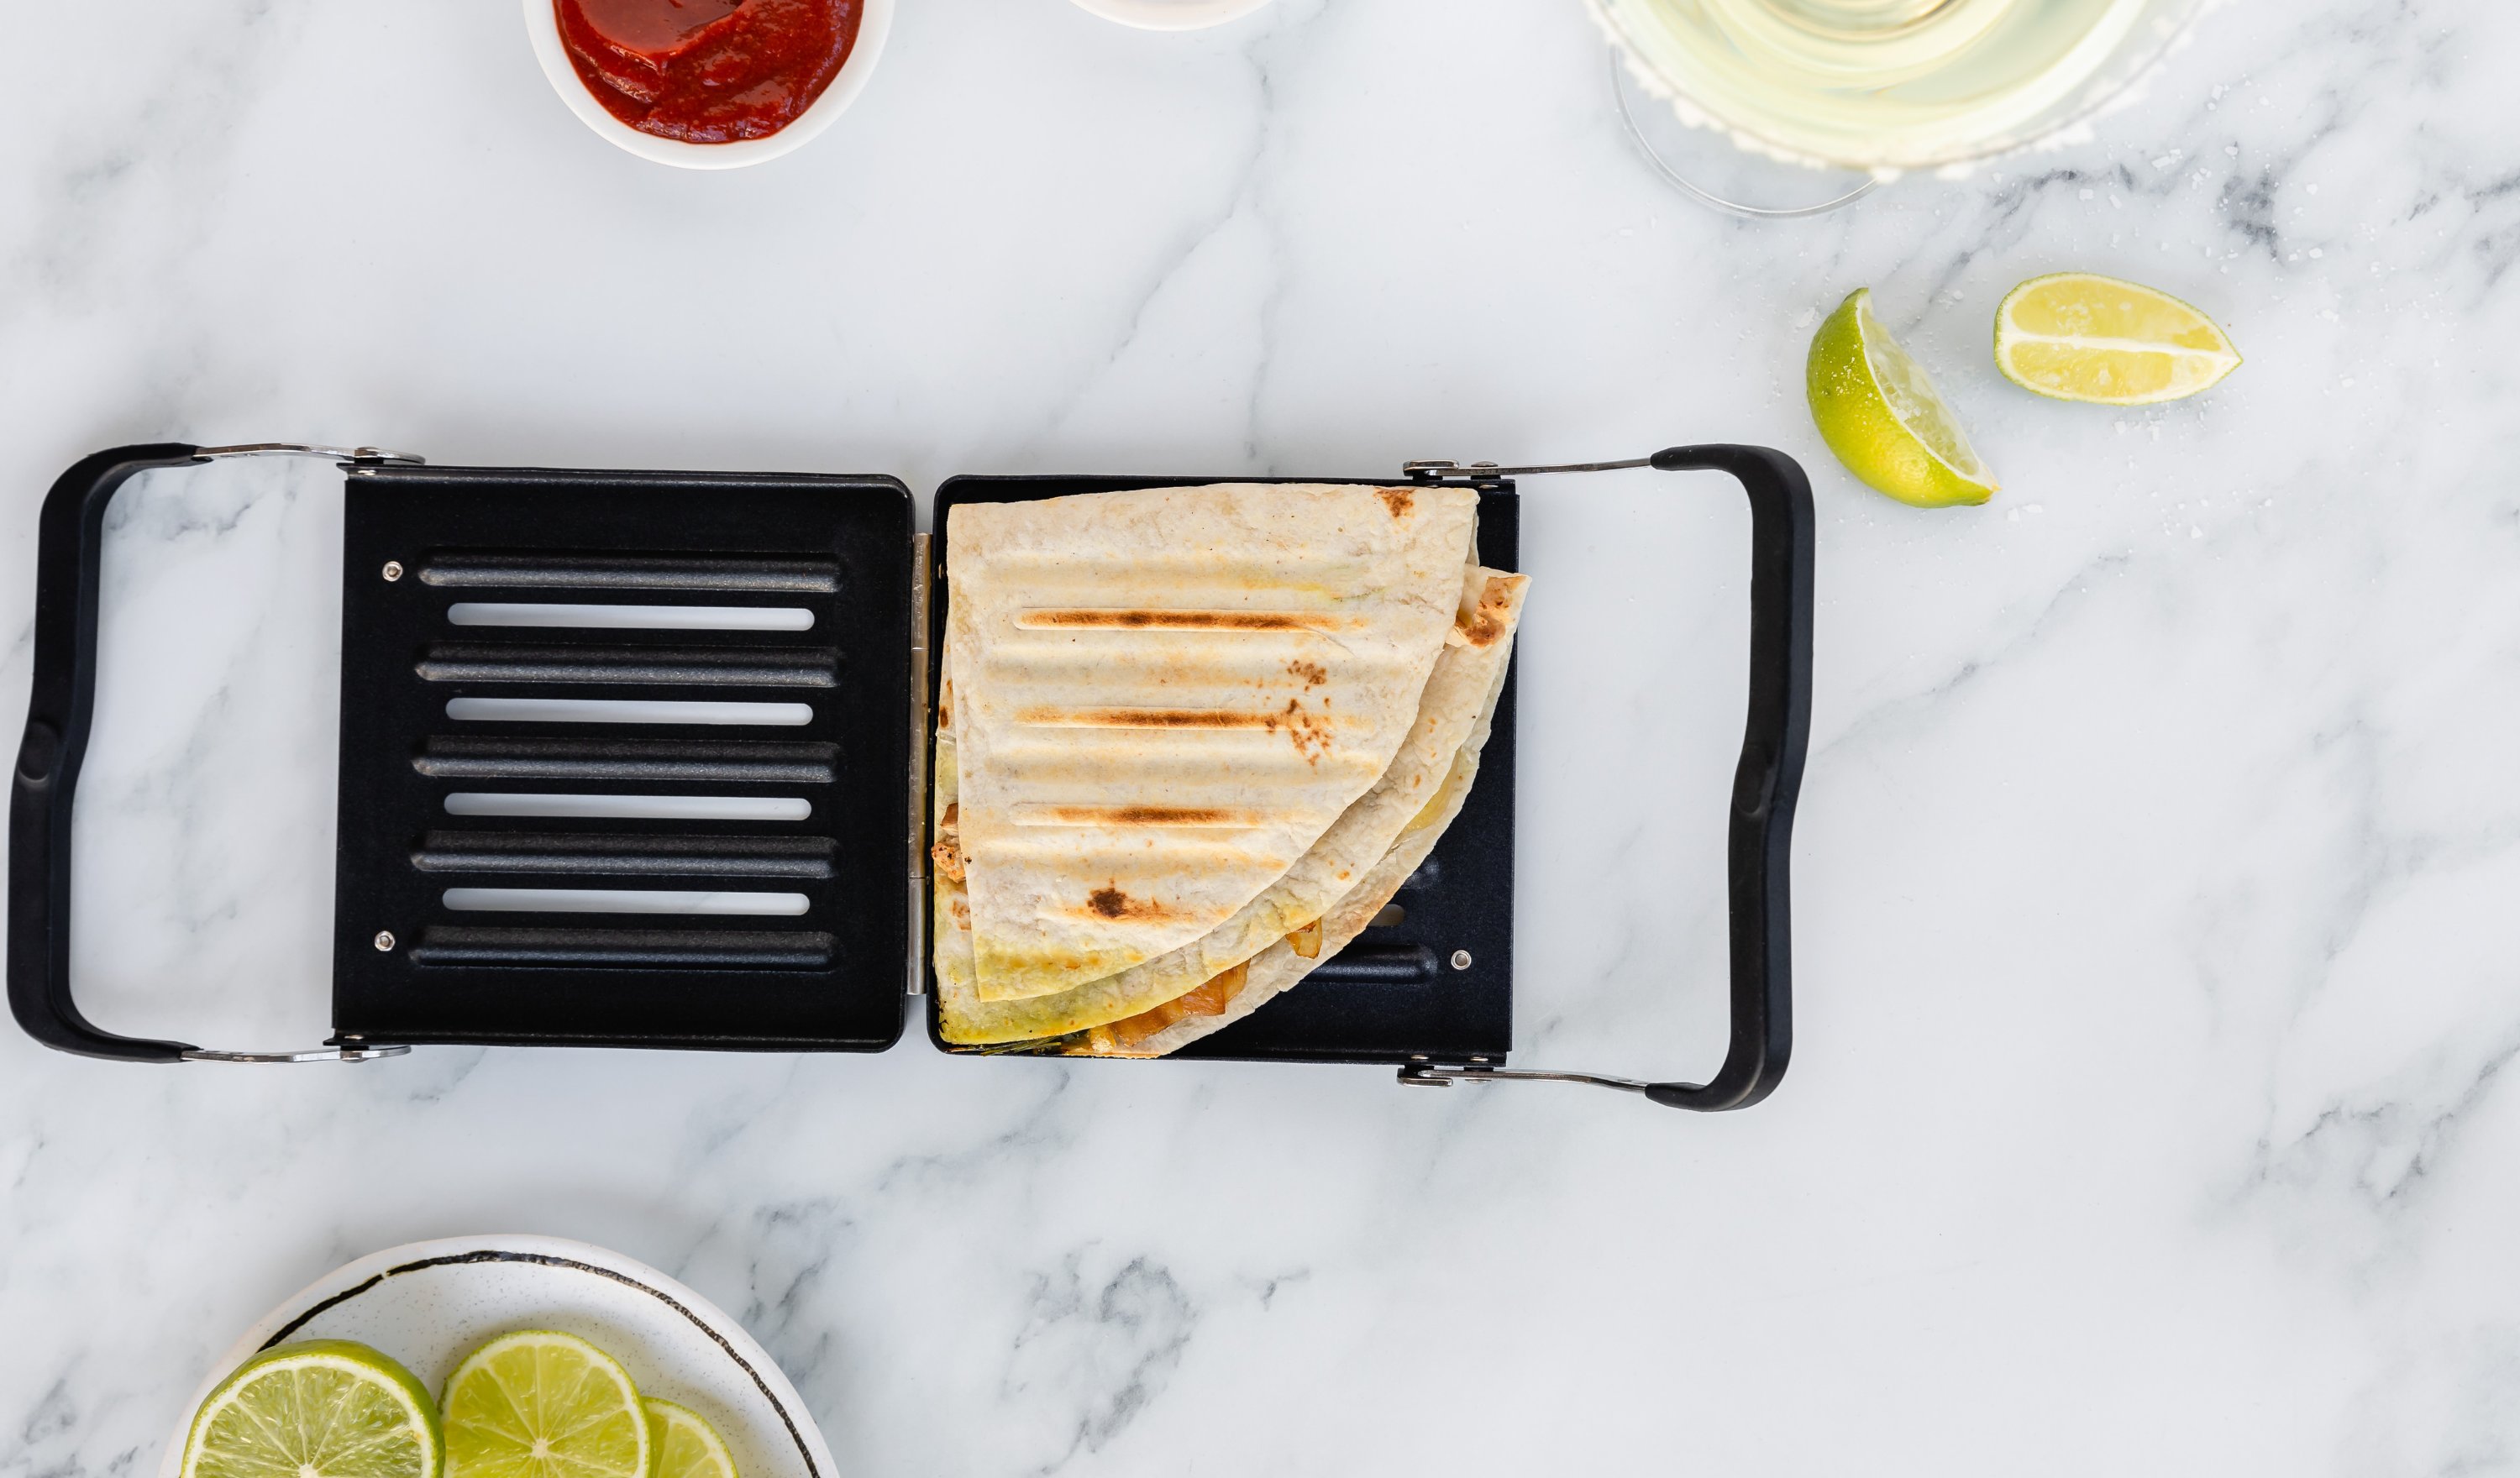
Step 9: Watch your sandwich be perfectly toasted into a TOASTERDILLA!
Pro Tip: If toasting completes and you desire more melting, do a second round of toasting on Panini Mode at a level 3 or 4. The thickness and moisture content of sandwich ingredients can impact heat-through.
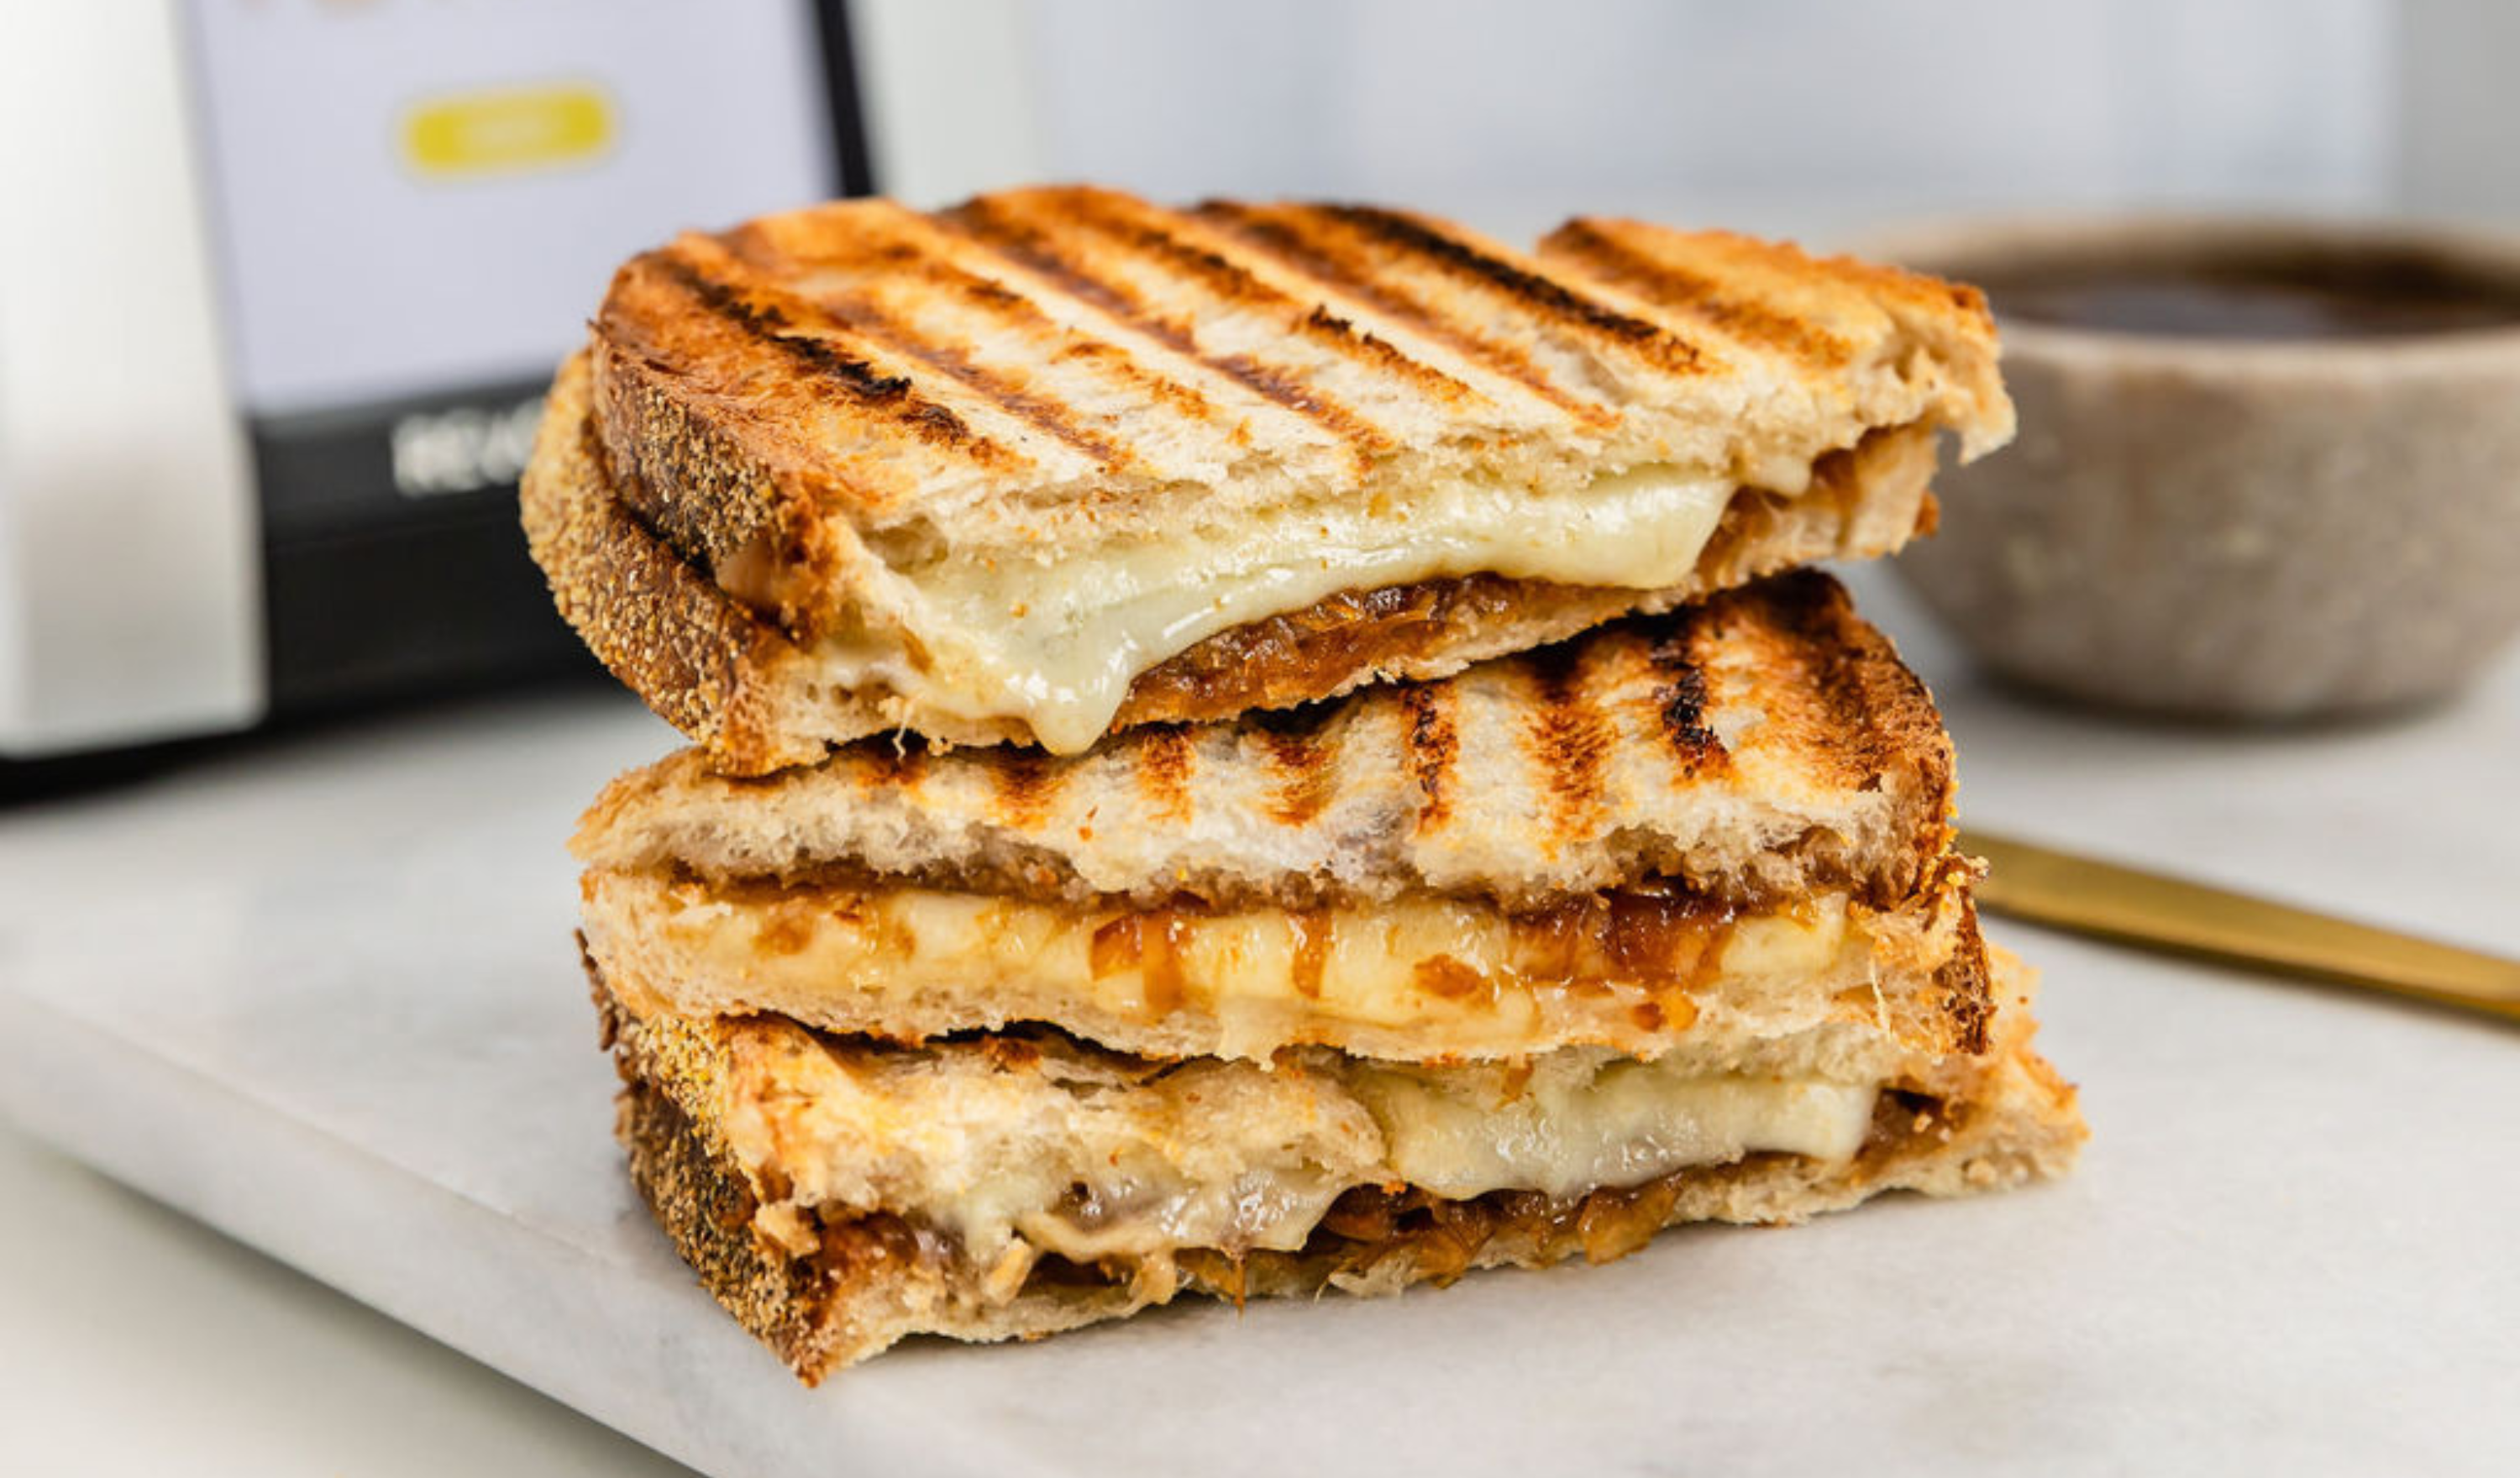
Step 10: Remove the Panini Press from the Revolution Toaster and be careful to touch only the handles. Open it up, slide the sandwich out with a fork, and see those perfect grill marks!

Step 11: ENJOY!

Cleanup: Once cooled down, the Panini Press accessory can be cleaned easily with water, soap and a sponge or soft brush. It can also safely be placed in the dishwasher. The Panini Press is designed to contain any sandwich overflow or cheese drips, but if some drips escape, they will be caught by the Revolution Toaster crumb tray. Simply remove that tray and wipe clean.
Do not attempt to reach into the toaster to grab or brush internal heating elements.
Like what you see above?! Get The Happier Meal Recipe HERE.
Toaster Compatibility
This recipe was written for Revolution InstaGLO® 2.0 toasters, including the R180 Connect Plus Smart Toaster, R180 Connect Smart Toaster, and R90 Digital Toaster. If you’re using an older model, you may need to tweak the instructions to get the same results.
Some Revolution toasters aren’t compatible with the Toastie Press™—if yours isn’t, it might be the perfect time to upgrade to the latest model for faster heat-up, smarter settings, and even more recipe possibilities.

Upgrade your toasting game.
Don’t Have the Tools?
Our R180 Connect Plus Bundle has all the tools you need to make every Revolution recipe—perfectly toasted, every time.
Snap, share, and tag @RevCooking—we might feature your masterpiece.
Made This Recipe?


From crispy breakfast favorites to gourmet toasted sandwiches, find your next creation here.